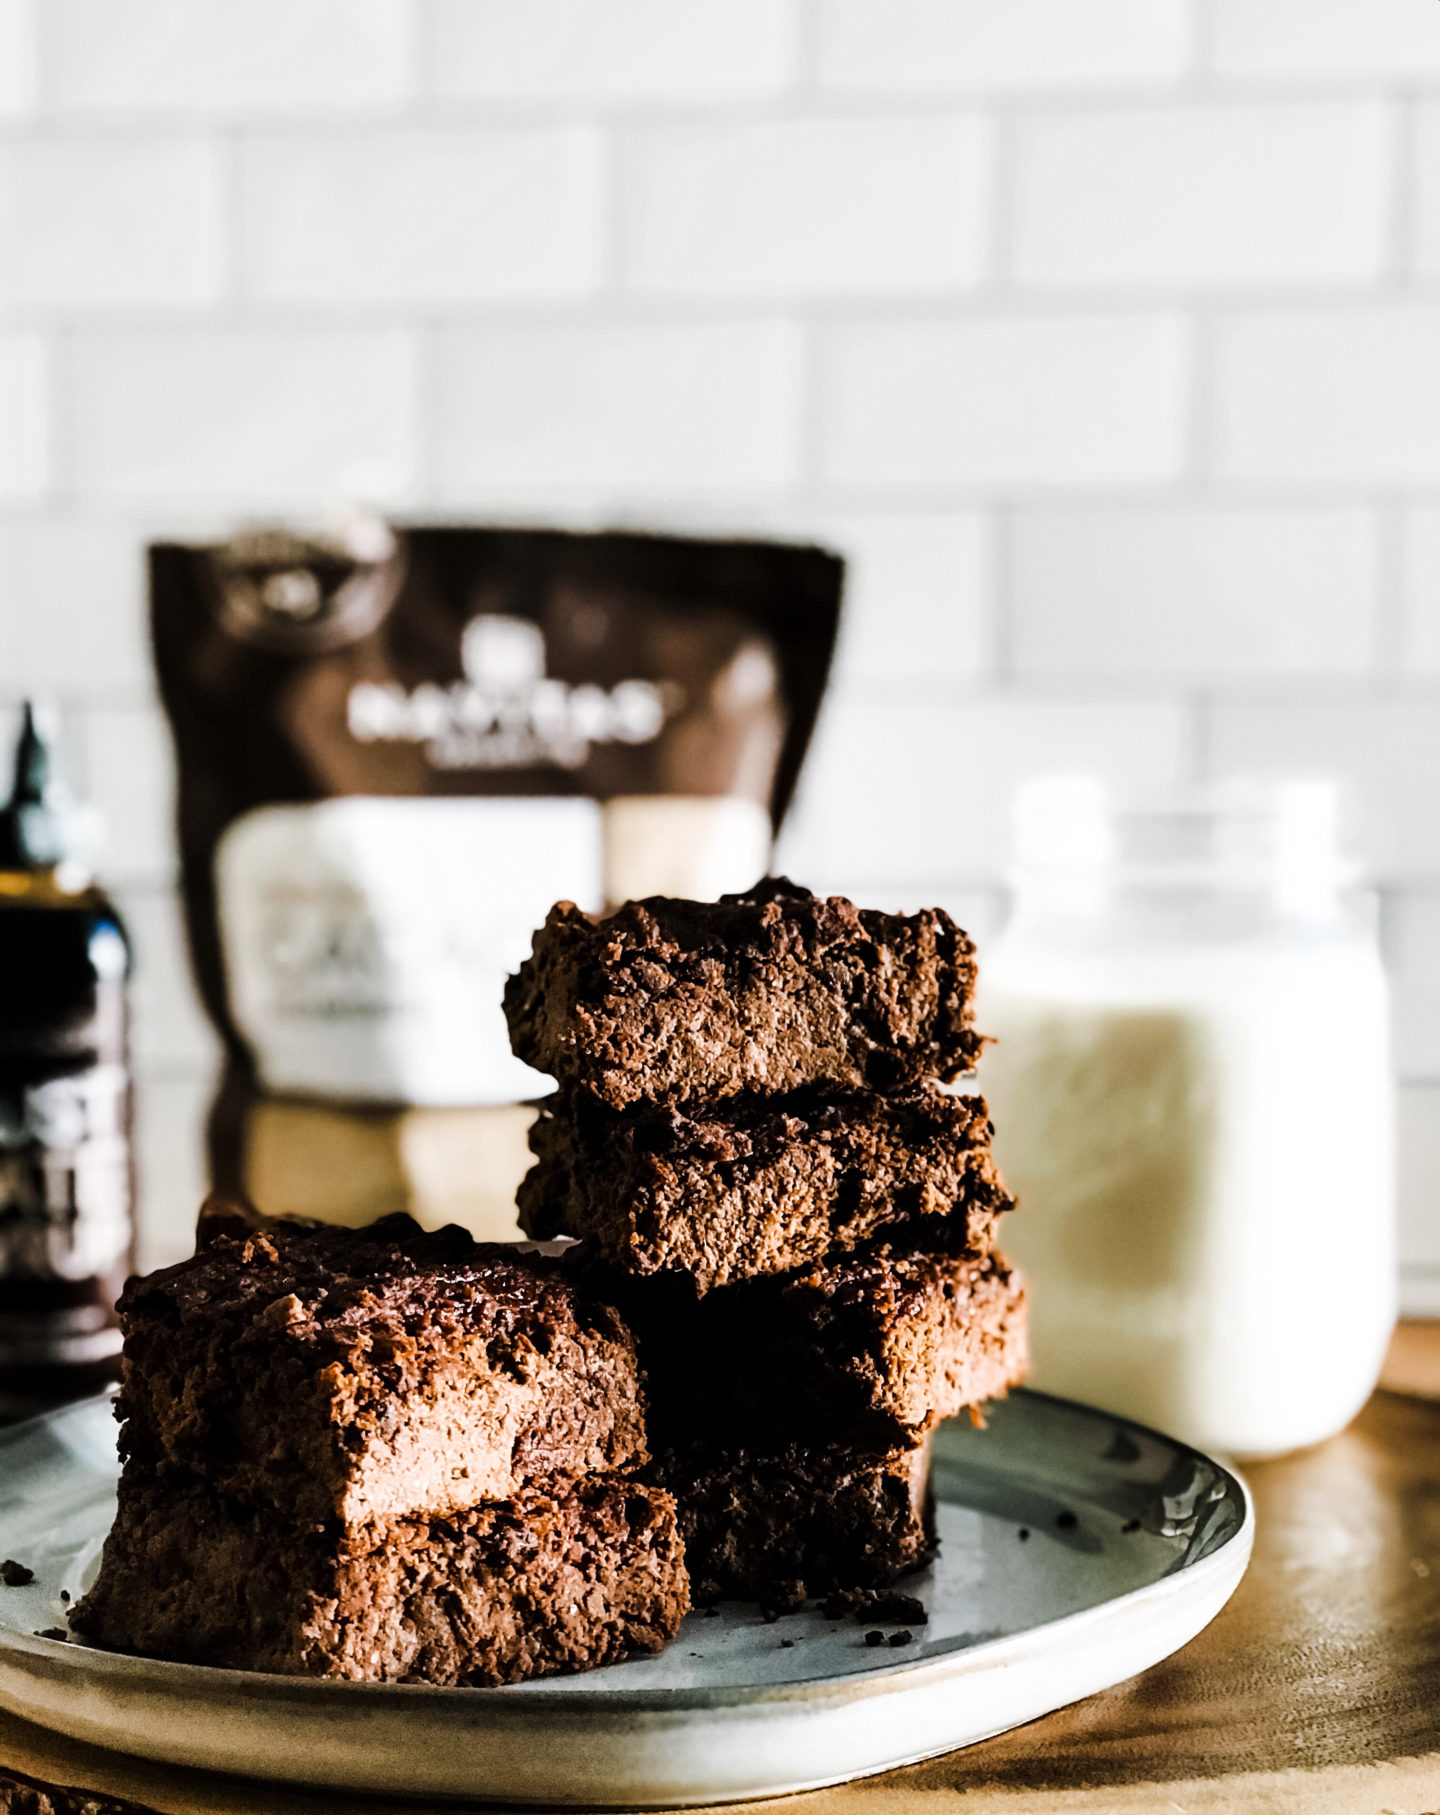
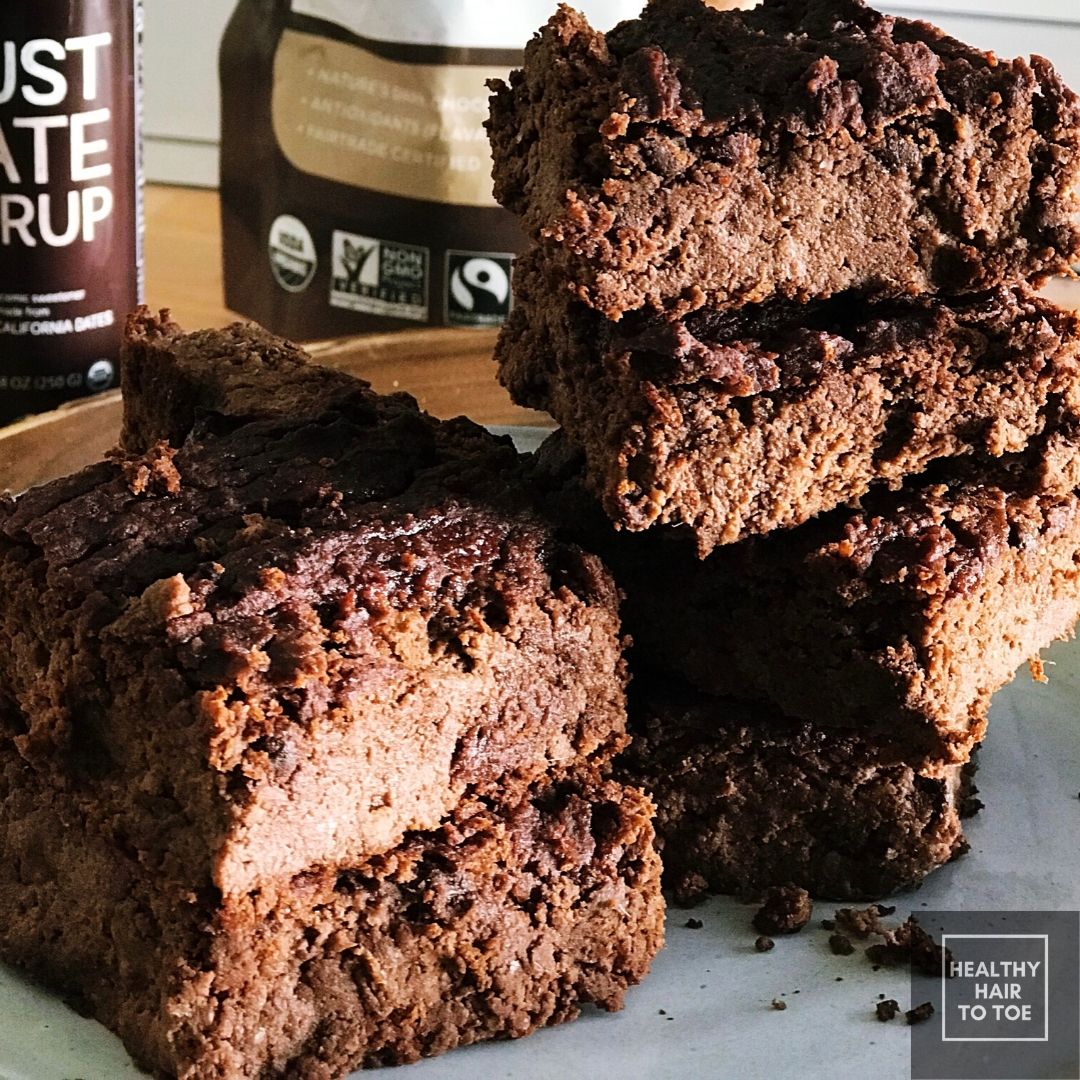
Brownies are one of my favorite childhood faves! Since discovering our daughter has a gluten allergy, I’ve been having to get much more creative with gluten-free recipes. She definitely inherited her sweet tooth from her mama so I’ve been adjusting a ton. These brownies are vegan, gluten free, oil free, soy free, grain-free, fudgy, packed with protein but most importantly, fiber!
Preparation
It takes just 10 minutes to prepare the batter. I use a food processor because it’s super convenient. Since my blender is a Vitamix, I know it’s extremely powerful and may inadvertently heat the batter up before it gets to the oven. If you have a less powerful blender you can blend. Just pay attention to the temperature of your batter as you go along.
Why Chickpeas instead of Sweet Potato?
I love sweet potatoes but when it comes to baking we have a love/hate relationship. Over time, I’ve noticed that chickpeas are much better at absorbing wet ingredients. Most people usually complain that sweet potatoes have given them either dry or overly moist brownies. This is probably because sweet potatoes are an extremely starchy vegetable although packed with essential nutrients.
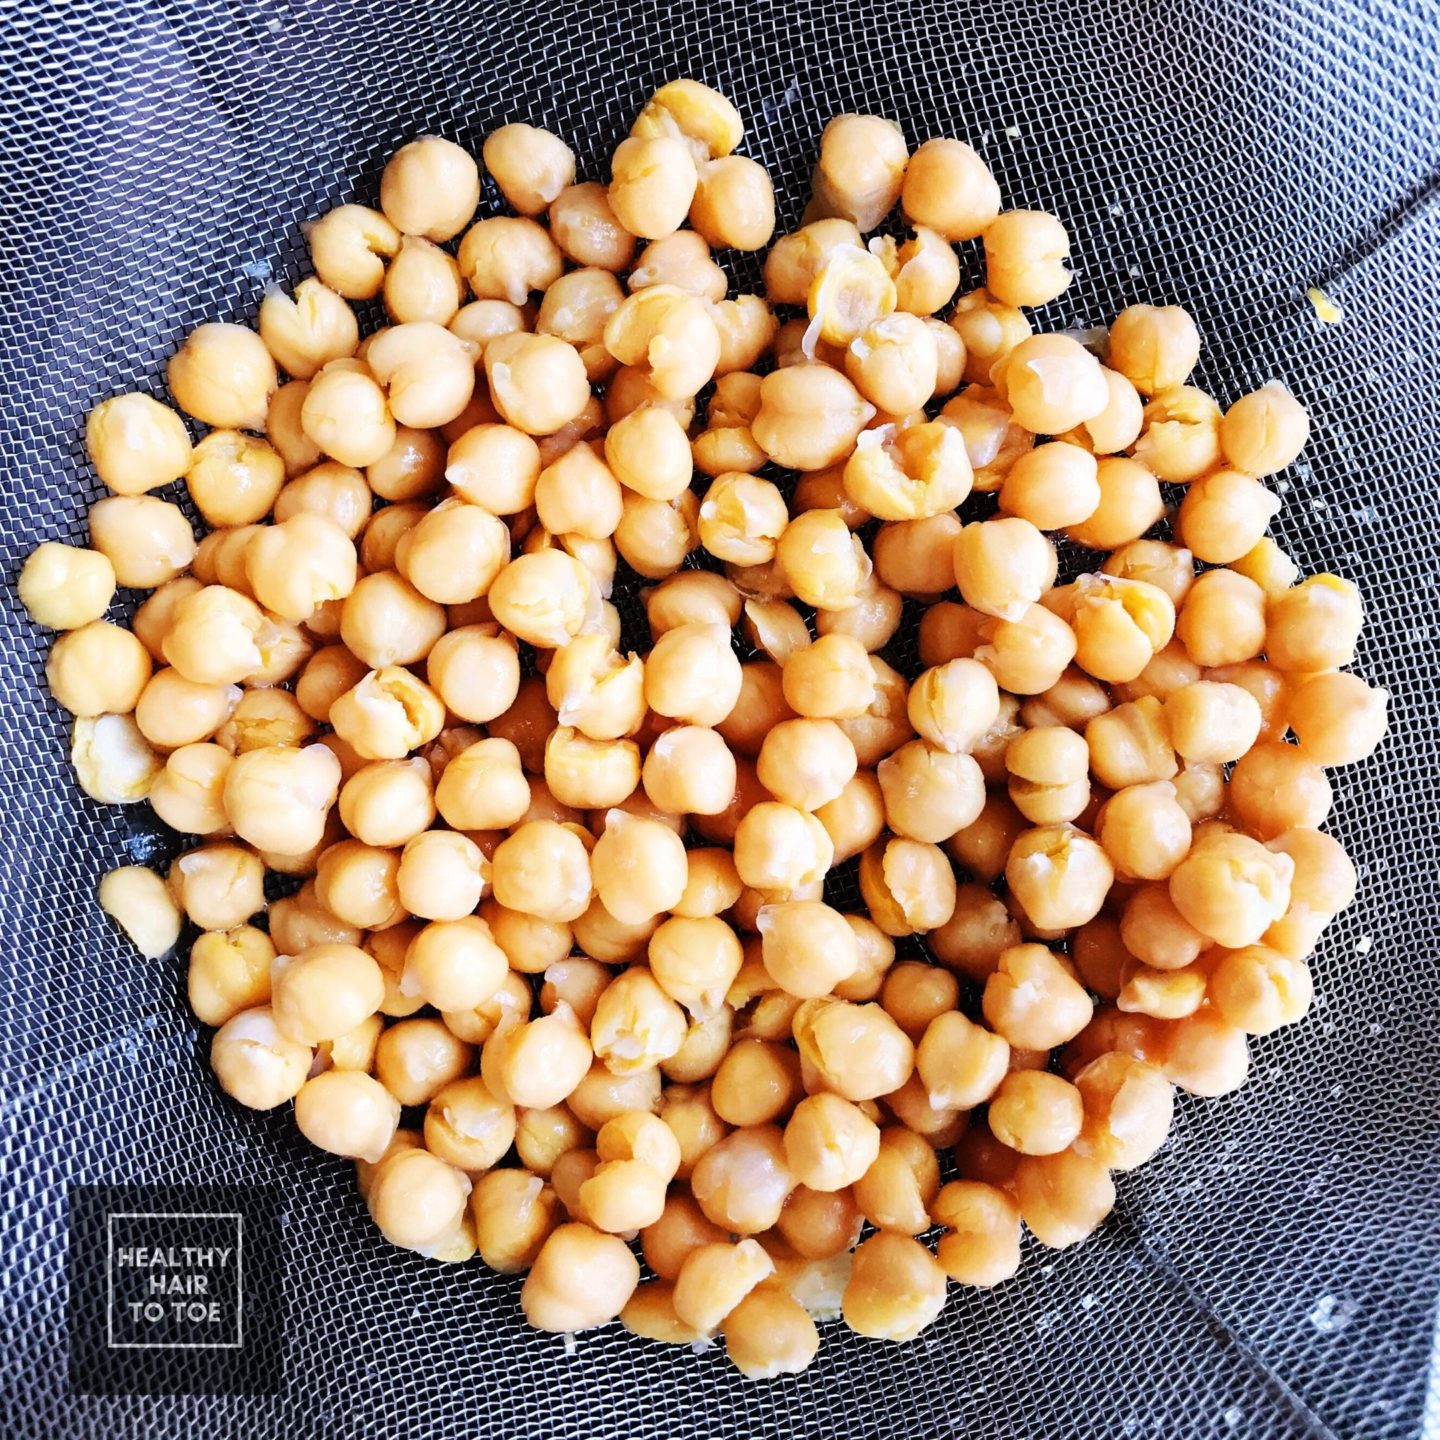
Should I Use Fresh Chickpeas or Can I Use Canned?
I’ve used 3 variations of chickpeas for this recipe. When using fresh chickpeas, I’ve noticed a firmer brownie that bakes much quicker than the 35-45 minute window on my recipe card. I just soak them the night before and boil accordingly. I have used canned chickpeas, both low sodium and regular. The low sodium canned beans have given me a fluffier and much more dense brownie…almost cake like. The regular canned beans have yielded a texture in between firm and fluffy but baked just as great and in the same amount of time as listed on my recipe card. Just remember, if using canned beans always seek organic & non-BPA lined.
What Makes This Recipe Nut-Free?
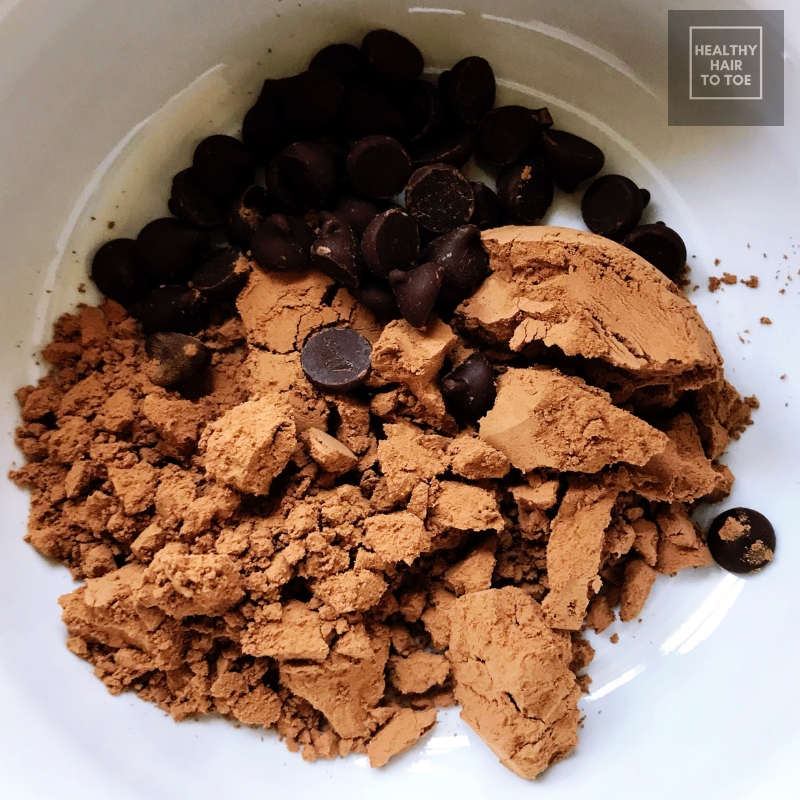
What makes this recipe nut free is that instead of using almonds, pecans or walnuts for grounding or as add-ins I use pumpkin seeds. Pumpkin seeds are packed with magnesium, iron, zinc, copper and many more minerals & vitamins. Hemp and sunflower seeds can easily serve as substitutes! You can also add in vegan chocolate chips to add to the chocolatey taste (it won’t be oil free is used). We love Enjoy-Life because they’re free of the 8 top food allergens.
Why Cacao Powder versus Cocoa Powder?
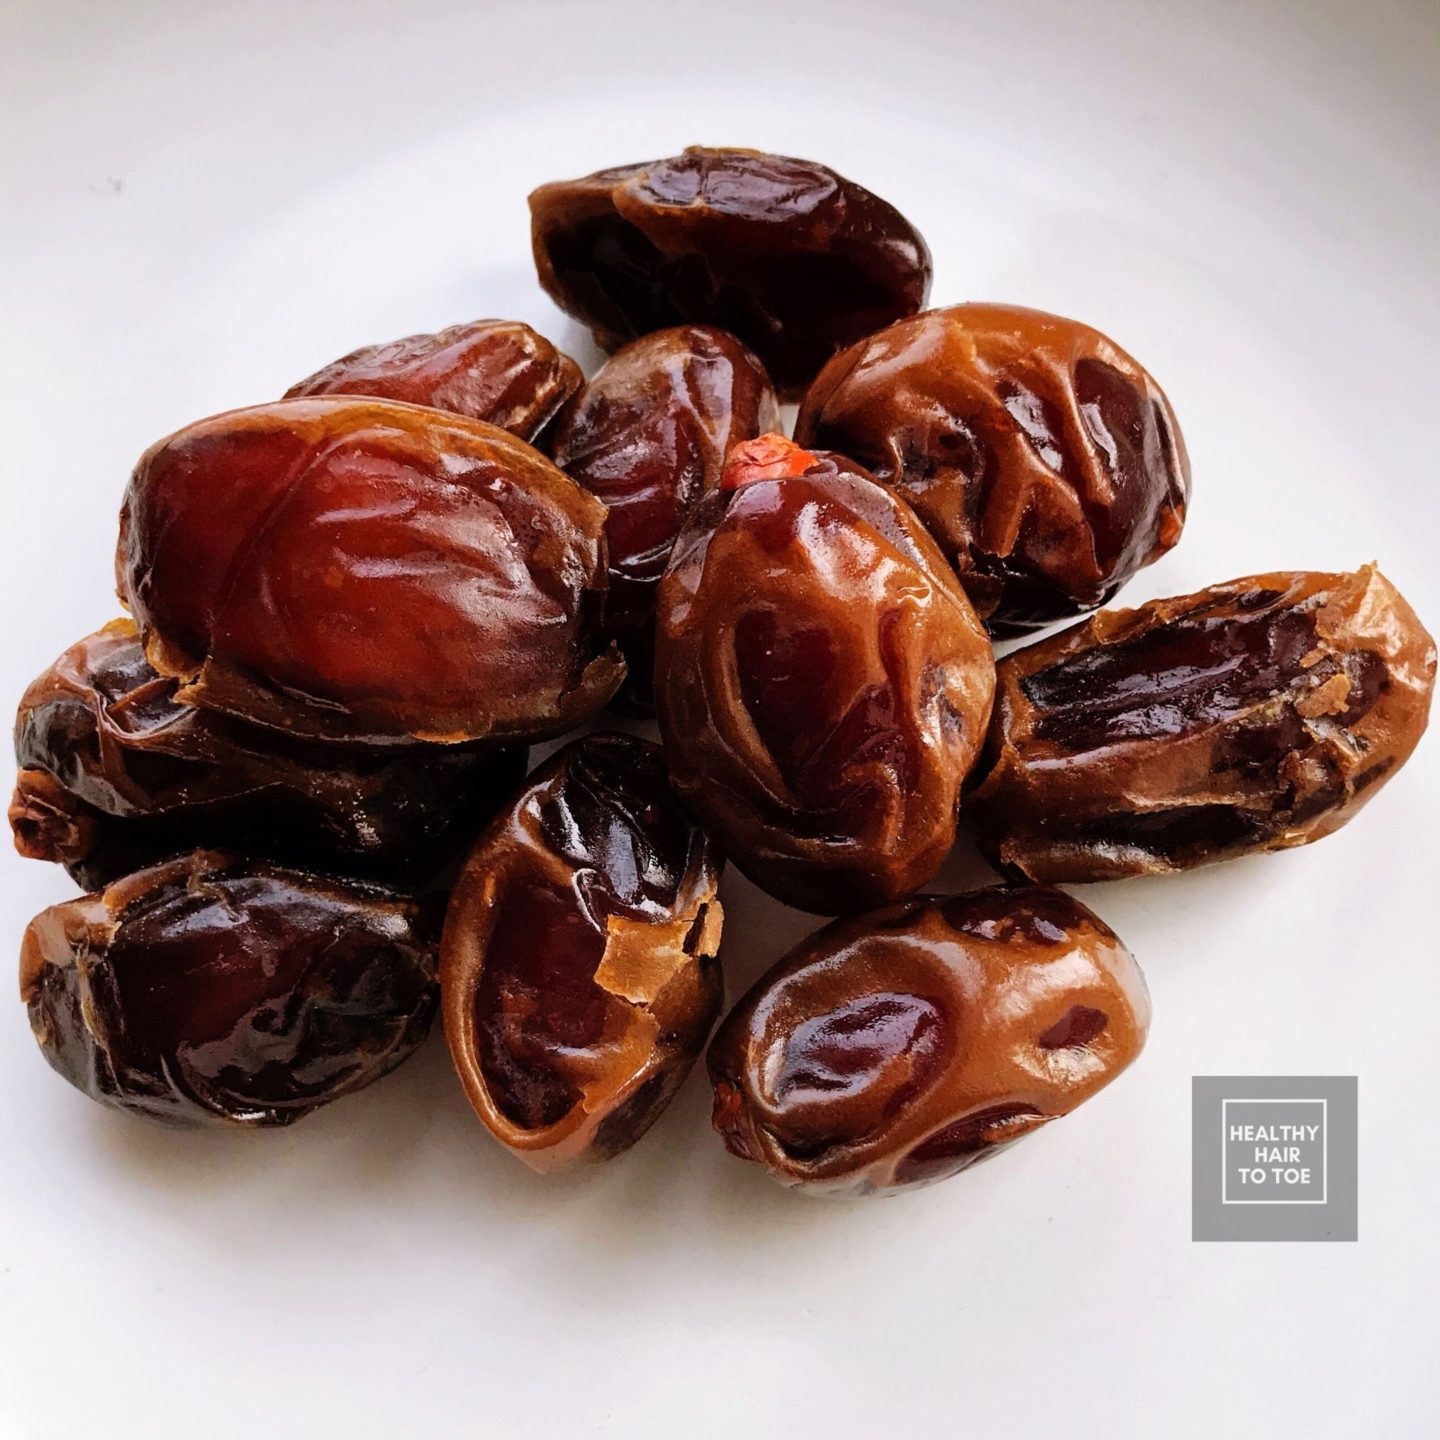
Cacao powder is made from fermented beans that have not been roasted because This results in a powder that’s bitter in taste but higher in nutritional content. Cocoa powder on the other hand is made from beans that are both fermented and roasted, and then processed at a much higher temperature. Cocoa powder doesn’t yield as much nutritional value as cacao and is less bitter. You can easily swap cacao for cocoa powder with this recipe if preferred. Just use about half the amount of dates to sweeten your brownies.
Are There Any Other Swaps?
A swap can be made for dates with coconut sugar. I’d recommend using 1/2 to 3/4 cup of coconut sugar in place of dates. Date sugar is also a great low glycemic & healthy alternative!
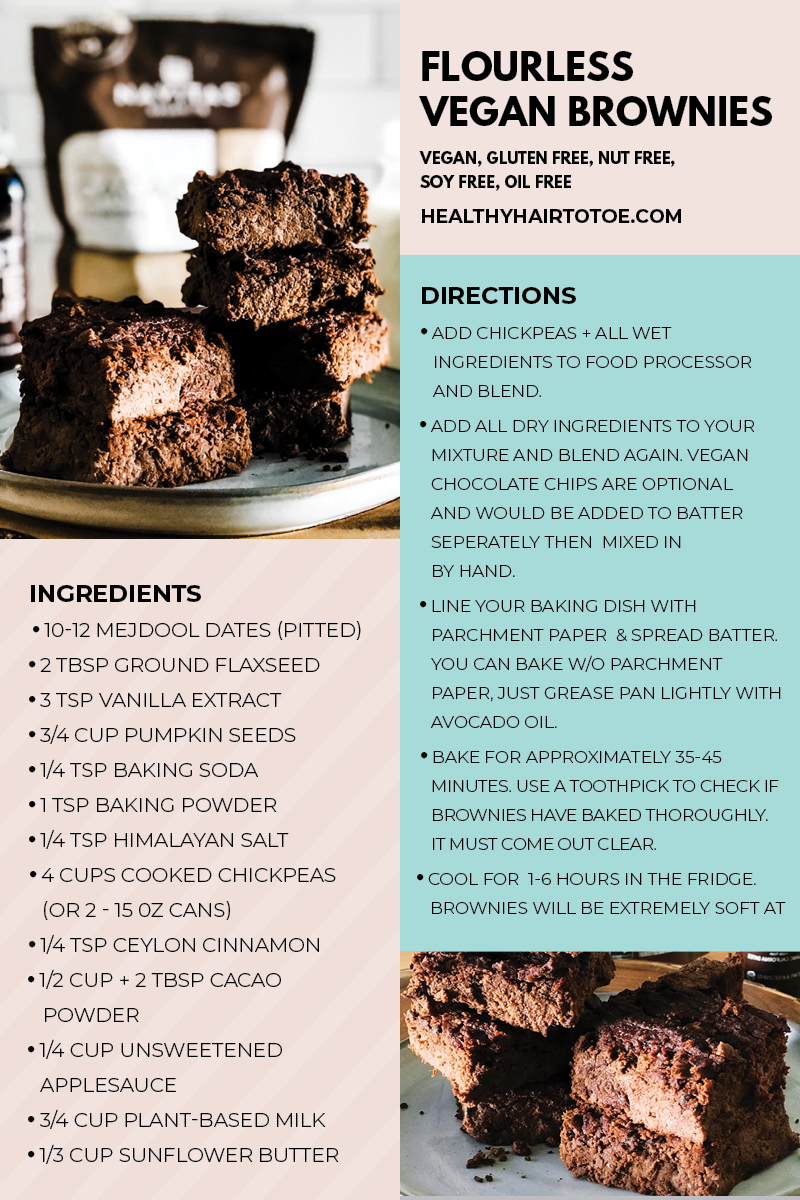
How To Make Flourless Vegan Brownies?
Preheat your oven to 350 degrees. Add your wet ingredients along with chickpeas to your food processor. If using canned beans be sure to rinse clean before blending. Blend your wet ingredients and then add your dry ingredients to your mix. Next, blend until your batter is uniformly brown. Line your baking pan with parchment paper (if seeking oil-free) or grease your baking pan with avocado oil or vegan butter. Bake for about 35-45 minutes. Baking times will vary depending on your oven and baking dish. I use an 8×11 glass baking dish. DO NOT overbake. These brownies will be soft at first but will firm up after cooling in the refrigerator. It’s best to cool them from 1-2 hours at minimum. Anywhere from 1-6 hours is ideal, overnight is even better!
If you try this recipe let me know in the comments or on Instagram @the.wholistic.healer & @healthyhairtotoe. I’ll be back soon with another recipe!
